Printing
How does the Risograph work?
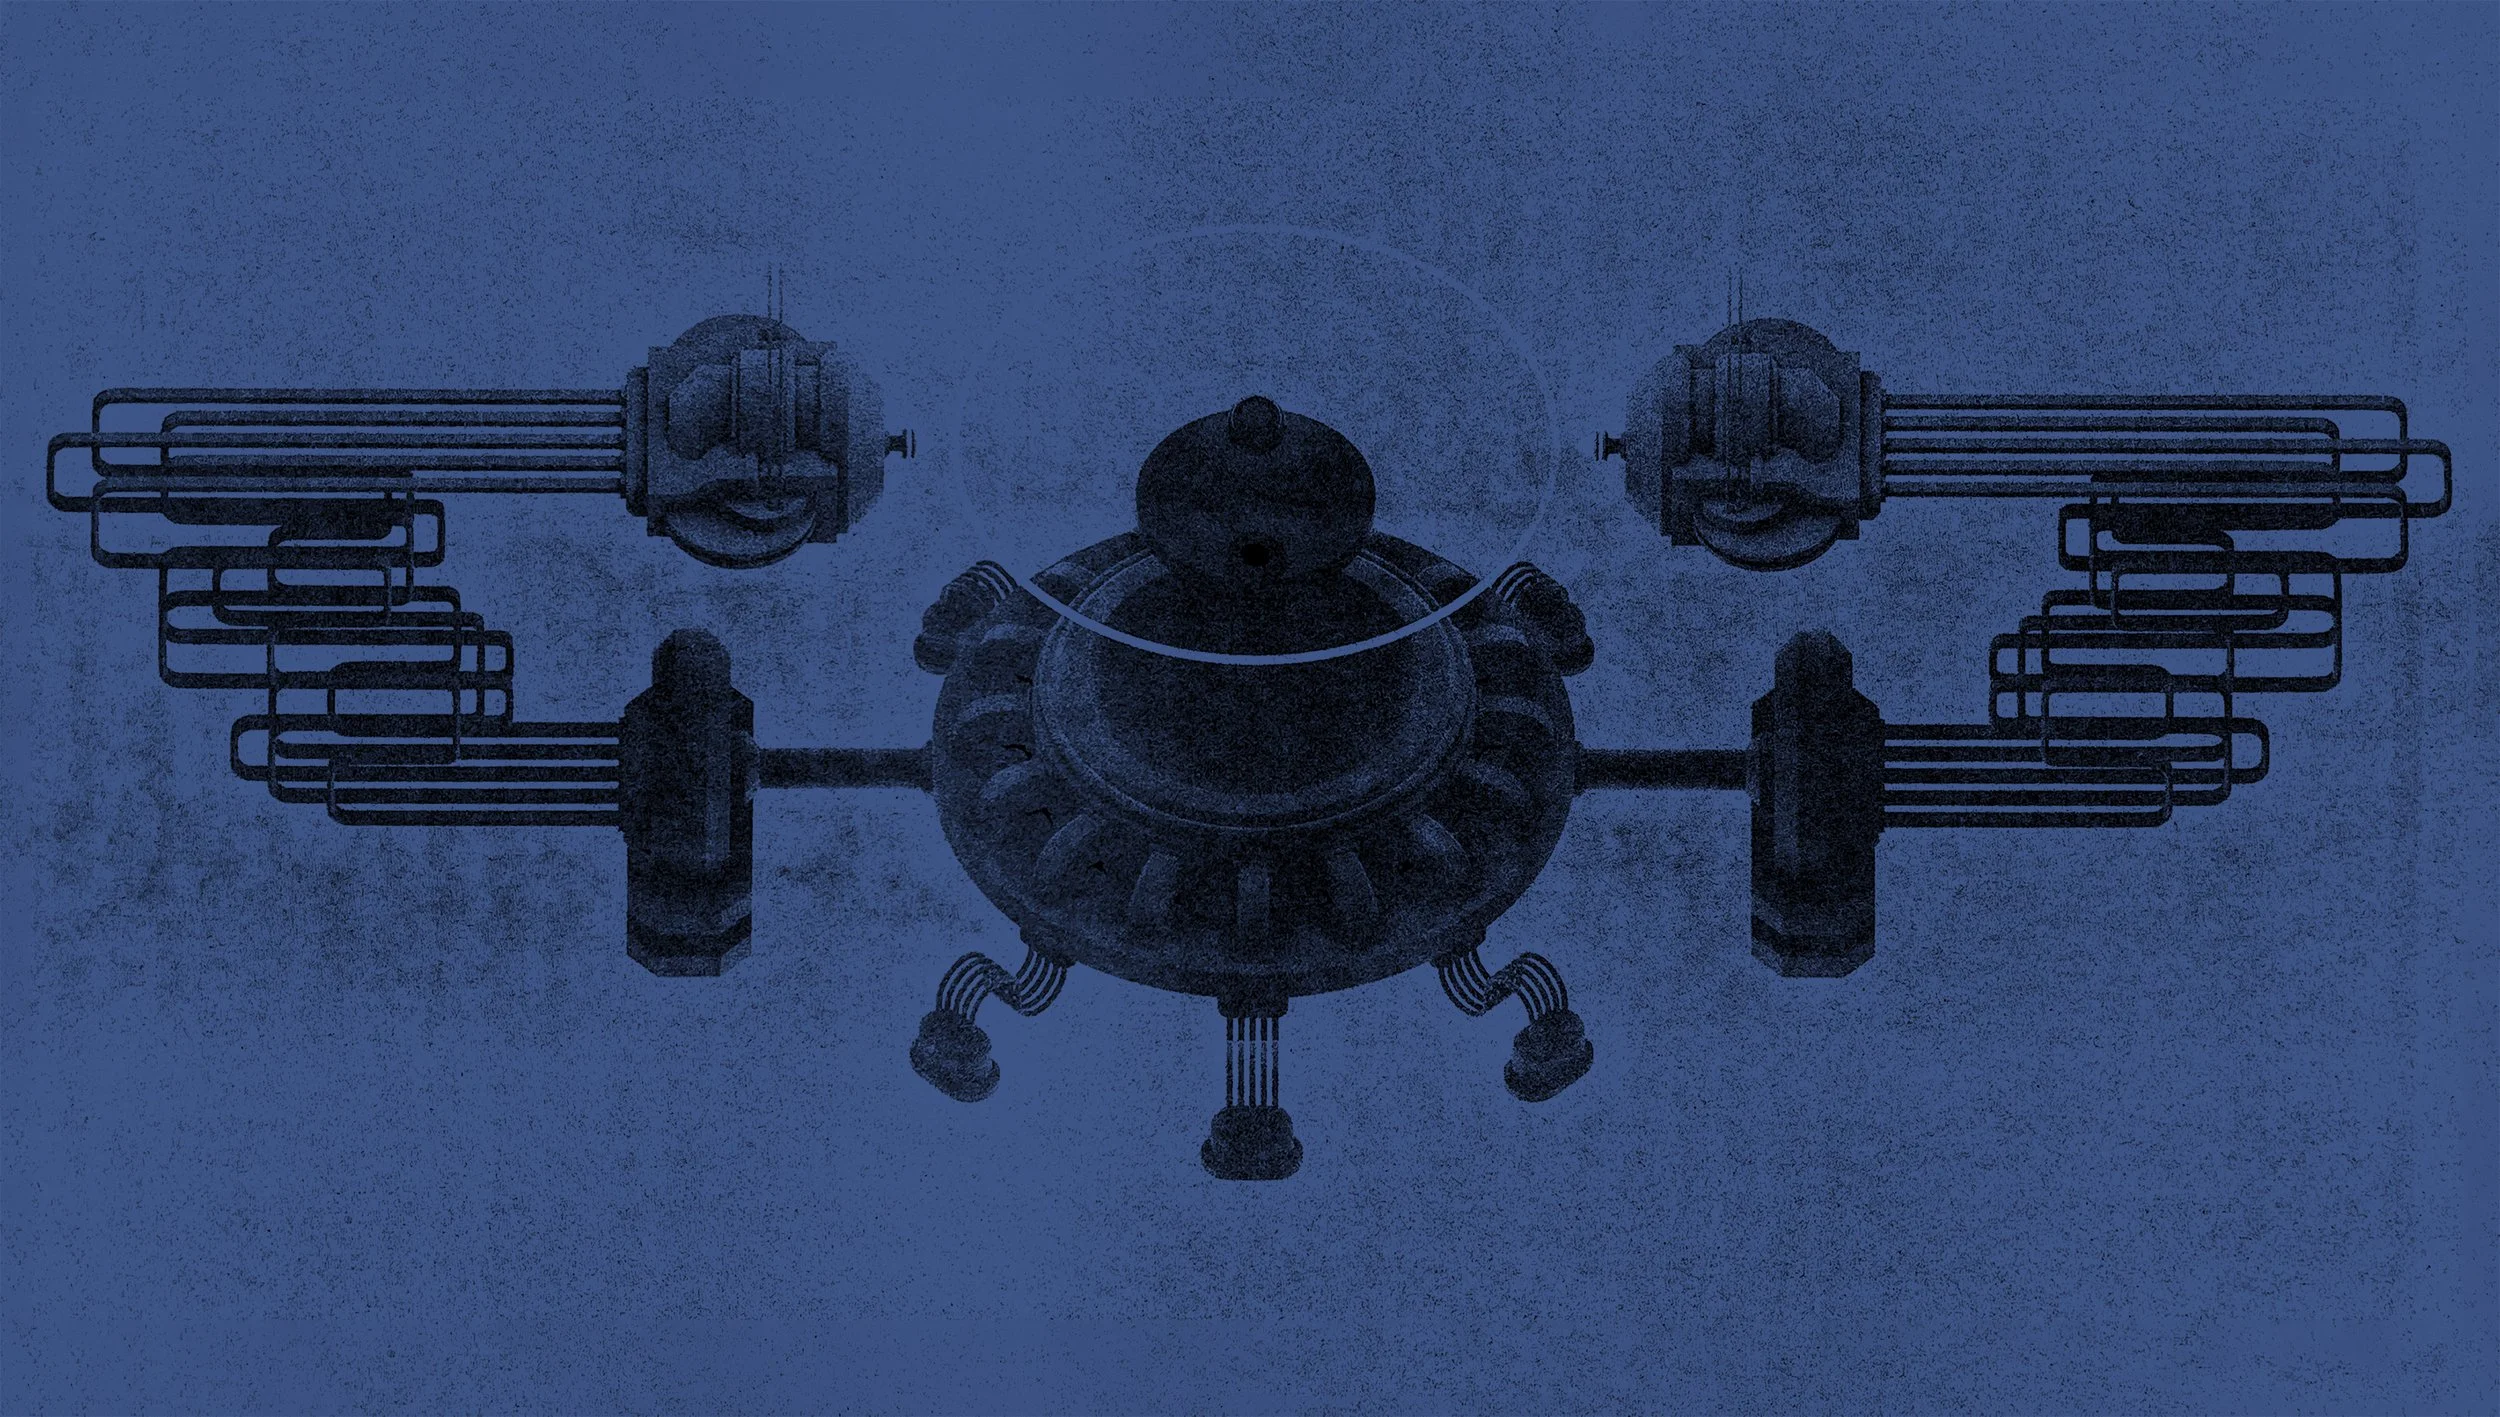
The Risograph is a stencil-based duplicator, taking a digital or scanned image to create a stencil that it then can print at large quantities.
Each stencil is called a master. Masters are special rice-paper based sheets that can be made by sending a file directly to the printer, or by scanning a physical image/document/object via the scanner bed.
Each master is created by burning the image onto the master roll inside the printer. This stencil is then wrapped around the ink drum. The Risograph feeds paper under the ink drum as it rotates, and ink is pushed out through the stencil to create an impression.
At Risolana, one color is printed at a time. Multi-color prints require sending a set of prints multiple times through the printer depending on the number of colors being used.
Risograph ink is translucent, so color layering and paper color will affect the final appearance. This also means that through layering, a wider array of color options is possible.
Have a project in mind? Fill out this form to get the conversation started!

Preparing a Print

Printing Area
The Risograph has a maximum print size of 11in. x 17in. (Tabloid).
The Risograph does not print full bleed, so it is recommended to add a ¼in.-1/2in. border to your print files for better results.
Please take advantage of the full print size when possible by grouping smaller prints onto larger sheets, conserving both paper and print time.

File Prep
To prepare artwork for printing, each color layer must be separated and saved as its own grayscale file. The Risograph reads the percentage of black throughout the file as a way to know how much of any color must be applied. 100% black will print out as 100% of whichever color you are printing, 75% black will print as 75% of a color, and so on.
For more information on proper color separation, Scroll down for the Designing for Risograph Section.
Once color is separated, all solid shapes, type, and images should be set to Registration Black.
Files ready for print should be sent as flattened JPEGs, PNGs, or PDFs at 300dpi-600dpi.
Please make sure to include the desired print color at the end of each file name (Example: SunsetPicture_2022_SCARLET.pdf)
Double-check that no type throughout the file is smaller than 6pt. Any Type smaller than 6pt will not print legibly.
Please make sure to send a full-color reference JPEG, PNG, or PDF along with your print files.
Designing for Risograph
Risograph printing is just as much an art as it is a science. Its difficult to get perfect results each time, but by diving deeper into designing for this process, better results are possible.
“Previewing” Files:
The best way to simulate the effects of Risograph printing while you prepare is to set blend modes to “Multiply”.
Risolana has a current selection of 12 colors. You can find our palette information here!
You can also download our Adobe Swatch File with our most current selection of colors here!

Color Separation:
When color separating it’s important to remember this process is more like sending instructions to the Risograph. Each color layer, and its percentage of black, lets the machine know how much of a given color must be applied where.
This process is more involved than just turning an image black and white. For example, if you convert a color layer that is cyan in your file directly to greyscale, it will result in a light gray. The machine will read this as a low percentage and thus apply a light amount of ink where you may have wanted more.


Please note that printing large areas at 100% of any color will result in printing issues. We recommended lowering large areas of color down to 80% at most, or altering your image to break up those large areas so that they can be printed at 100%.

Photographs
Programs like Photoshop can help by separating the color layers automatically based on color channels. These individual color layers can then be used to recreate an approximation of the original image.

Illustrations/Vectors
If you have digital illustrations with separated layers, you can edit these directly and convert layers to the appropriate amount of black you want to use.
Programs like Photoshop have tools like “Color Range” that allow you to select individual colors within a flat image and separate colors manually.
Another option is converting illustration layers into Alpha Masks, preserving the opacity of the original layers and allowing you to convert them to appropriate amount of black you want to use.

Scanning
Risograph also has the option of scanning physical materials. While this might be limiting for things like photographs and physical illustrations, it can be useful for translating handwriting and other mark-making techniques directly to your prints.
The Risolana team can help to accommodate for projects that might involve using such techniques.

Overprinting vs Knockout:
Overprinting: This is when two or more colors are printed over each other. This also creates new colors where the overlaps blend.

Knockout: This is when colors are cut out from those underneath them, resulting in pure color spots for each layer.

Registration & Color Trapping:
It’s important to understand that the Risograph is limited in its accuracy. Multiple colors require multiple passes through the machine and misregistration can often happen between color layers. This can sometimes lead to gaps where none were expected. Color Trapping is a technique that could be helpful if those gaps are not desired.
Color Trapping involves increasing the size of shapes or outlines between color layers slightly, so that the final result avoids undesired gaps as much as possible. This essentially “traps” the color where color layers touch or overlap.
This is also important to consider in places where gradients from one color to another occur on an image. It’s recommended that extra overlap between colors is added to ensure a transition with less gaps.

Image Options:
The Risograph prints using two imaging options: Grain Touch and Screen-Covered
Grain Touch: A randomized diffusion dither pattern (similar to photo or film grain).
Screen-Covered: Creates classic halftone patterns. This method has two adjustable settings. Screen Frequency controls the size of the dots produced (higher number = smaller dots). Screen Angle controls the angle the pattern is set to.

Printing Imperfections:
Smudging: Risograph ink is made of soy oil, water, and pigment, so like newspaper ink, smudging is a possibility. This can most commonly occur from printing large areas of solid color. Allowing time for the prints to dry is recommended, with Risograph ink typically drying between 24-48 hours.
Roller Marks: These marks may appear when large areas of solid ink are run through the printer multiple times. The feeder roller that grabs the paper and runs it through the machine will pick up ink and press it onto subsequent sheets. It’s recommended to avoid large areas of solid color, run those color layers last, or let the prints dry overnight between printing color layers.
Uneven Printing: Sections where ink is missing or isn’t applied to the level it should occur when large sections of color are printed beyond the printable area. This can be fixed by adding a bleed around the file or reducing the percentage of ink applied. This can also occur randomly when a new master is made, which will resolve itself once enough copies are made.